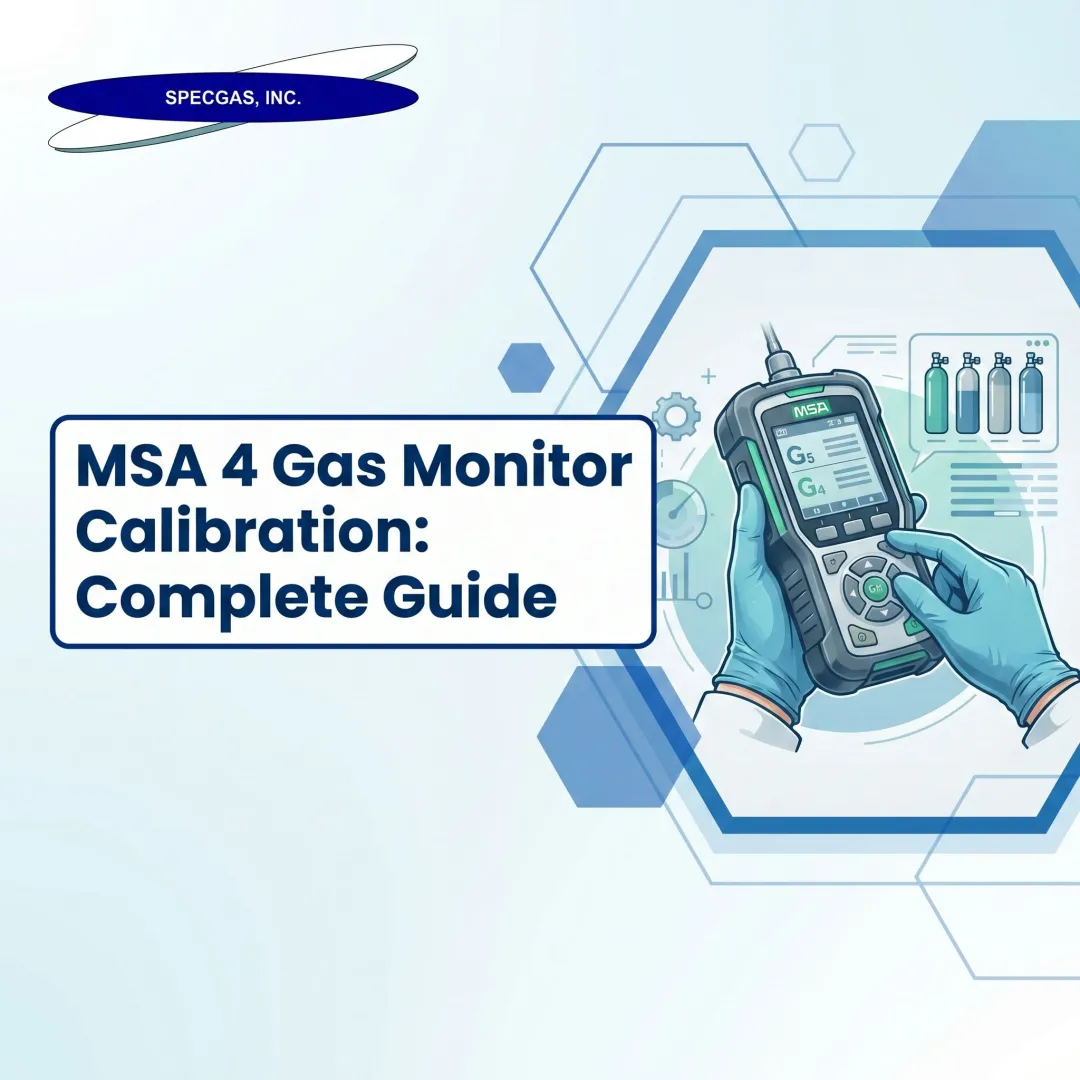
Introduction
A sensor that looks functional but doesn't respond to gas exposure offers no protection — it just looks like it does. The MSA Altair 4-gas monitor (covering the Altair 4, 4X, and 4XR series) tracks four critical atmospheric hazards: combustible gases (LEL), oxygen (O₂), carbon monoxide (CO), and hydrogen sulfide (H₂S). Each sensor must respond and trigger alarms before workers enter a hazardous environment.
Verifying that response before every shift is a formal safety requirement. It's mandated by CSA C22.2 No. 152, endorsed by OSHA's Safety and Health Information Bulletin, and explicitly recommended by MSA in every model's official documentation.
This guide covers the complete bump test process: required equipment (including flow regulators, tubing, and calibration caps), step-by-step manual procedures, automated Galaxy GX2 test-stand workflows, pass/fail interpretation, and the errors that cause false failures. You'll also learn when a successful bump test still isn't enough — when physical shock, chemical contamination, or sensor exposure history requires a full calibration regardless of the test result.
TL;DR
- A bump test verifies that all four sensors respond to gas and alarms activate. It confirms function, not accuracy.
- MSA recommends daily pre-use bump testing; CSA C22.2 No. 152 requires combustible sensor testing before each day's use
- You'll need a NIST-traceable 4-gas calibration cylinder, 0.25 L/min flow regulator, 1/8" ID tubing, and an MSA calibration cap
- A BUMP PASS result (green LED, 24-hour clearance) means the monitor is ready to deploy
- A BUMP ERROR means full calibration is required — do not deploy the monitor until recalibrated
What You Need to Bump Test the MSA 4-Gas Monitor
Having the correct equipment prevents false failures and protects sensor integrity. Using expired gas cylinders or incorrect regulators causes valid sensors to fail or allows degraded sensors to pass — both outcomes expose workers to undetected hazards.
Tools and Equipment Required
You need four components per MSA documentation:
1. Calibration Check Gas Cylinder
A 4-gas mixture containing CO, H₂S, a combustible gas (methane or pentane for LEL), and oxygen. The blend must be NIST-traceable and at concentrations matching your monitor's configured target values:
- CO: 60 ppm
- H₂S: 20 ppm
- LEL: 1.45% methane (equivalent to 29% LEL) or 25–50% of full scale
- O₂: 15% (deficient oxygen level)
SpecGas Inc. supplies NIST-traceable 4-gas calibration mixtures blended to these exact specifications. Store cylinders at room temperature, upright, and verify the expiration date before use.
2. 0.25 L/min Demand-Flow Regulator (P/N 467895)
Flow rate directly affects sensor response. Too high a flow dilutes reading accuracy; too low produces an insufficient response. MSA specifies 0.25 liters per minute — use only this rated regulator.
3. 1/8" ID Superthane Ester Tubing
Connects the regulator to the calibration cap. Inspect for cracks or kinks before each test.
4. MSA Calibration Cap/Adapter (P/N 10089321)
Model-specific caps seal securely over the sensor ports. Using the wrong adapter allows gas to escape before reaching the sensors, producing false BUMP ERROR results.

With the right equipment in hand, the monitor and test environment also need to be ready before you start.
Preconditions and Setup
Monitor Status:
- Fully powered on in normal operation mode
- Battery level sufficient (avoid mid-test shutdowns)
- Self-check startup sequence completed without errors
Test Environment:
- Clean air location (no ambient H₂S, CO, or combustible gases)
- Stable surface
- Sensor ports unobstructed
Performing the bump test in a contaminated environment skews baseline readings. The monitor may show elevated values before you apply calibration gas, invalidating the test.
How to Manually Bump Test the MSA 4-Gas Monitor: Step by Step
The manual bump test is the standard procedure when the MSA Galaxy GX2 automated stand isn't available. Follow each step in sequence to ensure a valid result.
Step-by-Step Manual Procedure
Step 1 — Prepare the gas supply:
Before attaching the regulator to the cylinder, open the regulator valve briefly to purge the line, then close it. Screw the regulator firmly onto the calibration check gas cylinder without overtightening.
Step 2 — Connect tubing and calibration cap:
Attach the 1/8" ID tubing to the regulator's hose barb and connect the other end to the MSA calibration cap. Clip or attach the calibration cap securely to the front of the monitor over the sensor ports.
Step 3 — Enter bump test mode:
From the Normal Operation screen, press the DOWN arrow button. The screen displays "BUMP TEST?" — confirm by pressing the center/select button to initiate the test sequence. If the device has a calibration lockout password, enter it when prompted.
Step 4 — Verify gas concentrations:
Before releasing gas, confirm that the target gas concentration values shown on the monitor's screen match the values printed on the calibration check gas cylinder label. If they don't match, adjust values in the Calibration Setup menu before proceeding.
Step 5 — Apply the gas:
Open the pressure reducer valve on the regulator to release gas flow. The monitor's screen will display sensor readings as they respond to the challenge gas. Allow the sensors to fully respond — typically 15–20 seconds. The hourglass icon will flash during sensor response.
Step 6 — Close and remove:
After the test completes, close the regulator valve, remove the calibration cap from the monitor, and allow the device to return to normal operation mode. The device will display either "BUMP PASS" or "BUMP ERROR."

Automated Bump Testing with the MSA Galaxy GX2 Test Stand
The Galaxy GX2 is MSA's automated test station that delivers calibration gas, records results, and logs compliance data with minimal manual intervention.
Fleet management advantages:
- Tests up to ten monitors simultaneously
- Removes human error from button sequences and timing
- Warns when calibration gas is low or expired via at-a-glance indicators
- Timestamps all tests and flags devices that need full calibration
Note: According to MSA, the Galaxy GX2 Test Stand is not a CSA certified calibration method and does not replace a full calibration when one is required.
How to Interpret Bump Test Results
Misreading or ignoring the bump test result — or assuming a partial response is acceptable — is one of the most consequential mistakes. The test result determines whether the monitor can be trusted in the field.
BUMP PASS
A "BUMP PASS" result confirms:
- All four sensors responded to the challenge gas within the acceptable range (0 to +20% of actual concentration for combustible sensors per CSA 22.2 No. 152)
- The monitor's audible alarm, LED lights, and vibration alert all activated correctly
Visual indicators after a successful test:
- The display shows a checkmark (√) symbol in Normal Operation mode
- The green Bump LED flashes every 15 seconds for 24 hours
Confirm this indicator is present before deploying the device. The 24-hour green flash is your visual proof that the monitor passed its bump test within the last day.
BUMP ERROR
A "BUMP ERROR" result means one or more sensors failed to respond within the acceptable detection range. The sensor may still be functional — common causes include:
- Sensor drift (calibration aging)
- Blocked sensor port (dust, debris, moisture)
- Degraded calibration gas (expired or low cylinder pressure)
- Poor seal between calibration cap and monitor
What to do immediately:
- Perform a full calibration
- If calibration also fails, identify which sensor channel is responsible
- Replace the failed sensor before returning the monitor to service
- Never deploy a monitor that shows BUMP ERROR
The red LED flashes every 15 seconds after a bump test failure.
When to Escalate Beyond a Bump Test
A successful bump test doesn't guarantee the monitor is safe if it's been exposed to any of the following:
- Physical shock or impact: Dropping the monitor can damage sensors without triggering an error code. Perform a full calibration after any significant impact.
- Chemical contamination: Specific poisons and inhibitors can desensitize catalytic combustible gas sensors, including:
- Organic silicones
- Silicates
- Lead-containing compounds
- H₂S exposures over 200 ppm, or over 50 ppm for one minute
- Extreme gas exposure: Concentrations far above normal operating levels can degrade sensor performance even when the bump test passes. Run a full calibration before redeployment.
- Water submersion: MSA advises rechecking calibration if the device is fully submerged, regardless of bump test outcome.
Treat a bump test as a go/no-go check, not a substitute for calibration after exposure events. If any of these conditions apply, calibration is the only reliable way to confirm sensor accuracy before the monitor goes back into service.
Bump Test vs. Full Calibration: Key Differences
Both procedures serve different purposes — confusing them can leave gaps in worker protection.
| Metric | Bump Test | Full Calibration |
|---|---|---|
| Definition | Confirms sensors respond and alarms activate (functional check) | Adjusts sensor output to match a known gas concentration, correcting for drift |
| Duration | 15–20 seconds | 1–2 minutes per MSA process |
| Process | Applies gas; verifies sensor response | Zero phase (fresh air) + span phase (calibration gas) + sensor adjustment |
| Outcome | Pass/fail sensor responsiveness | Adjusts measurement accuracy to compensate for sensor aging |
| Frequency | Before each day's use | Minimum every six months, or immediately if a bump test fails |

MSA's recommended frequency:
Bump test before every day of use. Full calibration at minimum every six months — though site-specific SOPs and applicable standards (OSHA, CSA, or EN) may require more frequent intervals.
Common Bump Test Mistakes and How to Avoid Them
Using Expired or Incorrect Calibration Gas
Expired gas cylinders show inaccurate concentrations, causing a valid sensor to fail or an invalid sensor to pass. Always verify:
- Cylinder expiration date
- Labeled concentration matches monitor's configured target values
Sourcing from a supplier like SpecGas Inc. that provides NIST-traceable blends with a documented shelf life and reactive gas stability reduces this risk considerably.
Attaching the Calibration Cap Incorrectly
A poor seal between the cap and the monitor allows gas to escape before reaching the sensors, producing weak readings and false BUMP ERROR results. Confirm:
- Correct calibration cap part number for the specific monitor model
- Secure, firm attachment with no gaps
Performing the Bump Test in a Contaminated Environment
Ambient H₂S, CO, or other gases in the test area will skew sensor baseline readings. Move to a clean-air location before initiating the test.
Skipping the Result Verification Step
Walking away before the pass/fail screen displays — or missing the green LED confirmation after a pass — leaves real doubt about whether the monitor is cleared for use. Require operators to visually confirm and log the result before deploying the device.
Frequently Asked Questions
How often should an MSA 4-gas monitor be bump tested?
MSA recommends bump testing before each day's use. CSA standard C22.2 No. 152 specifically requires combustible sensor sensitivity to be verified on a known concentration of methane equivalent to 25–50% of full scale before each shift. Corporate or site policies may add further requirements, but daily pre-use testing is the accepted baseline.
Do MSA 4-gas monitors need to be bump tested?
Yes. Bump testing is both an MSA recommendation and often a regulatory or site compliance requirement. Without a bump test, there is no confirmation that the monitor's sensors will respond to gas exposure before entering a hazardous environment, leaving workers exposed to hazardous gases without warning.
What is a bump test on a gas detector?
A bump test involves exposing the gas detector's sensors to a known concentration of challenge gas to confirm the sensors respond and all alarms (audible, visual, vibration) activate correctly. It is a functional check, not a calibration adjustment.
What is MSA calibration gas?
MSA calibration gas (also called calibration check gas) is a precisely blended mixture used to bump test or fully calibrate MSA gas monitors. For 4-gas monitors, it typically contains CO, H₂S, a combustible gas (methane or pentane) for LEL measurement, and a reduced-oxygen balance — all at NIST-traceable concentrations.
Is 2.5% methane equal to 50% LEL?
Yes. Methane's LEL is approximately 5% by volume, so 2.5% methane in a gas mixture represents 50% of the LEL. This falls within the CSA-required 25–50% of full scale range for combustible sensor bump testing, making it a commonly used calibration check gas concentration.